Configuring the DSG Cluster
Configuring the Cluster for ESA and DSG
Creating an ESA cluster
On the DSG Web UI, navigate to System > Trusted Appliances Cluster.
The Join Cluster screen appears.
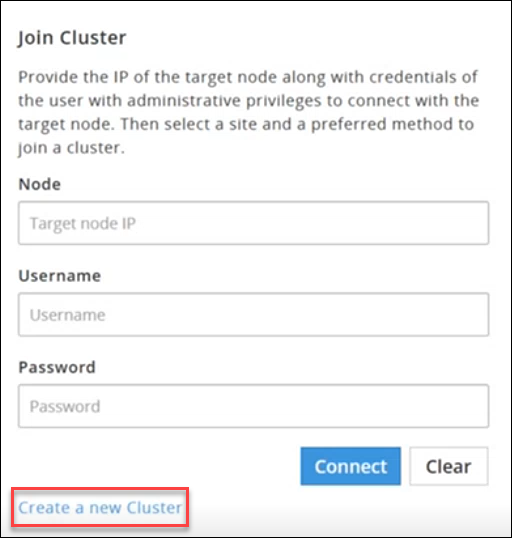
Click Create a new Cluster to create a DSG cluster.
The Create Cluster screen appears.
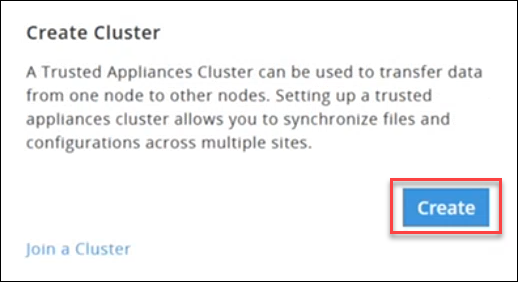
Click Create and select a preferred communication method.
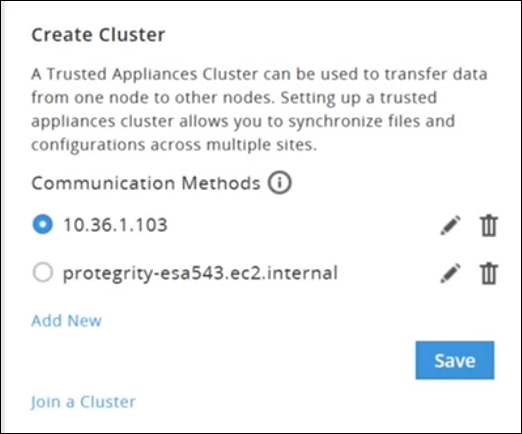
Click Save to create a cluster.
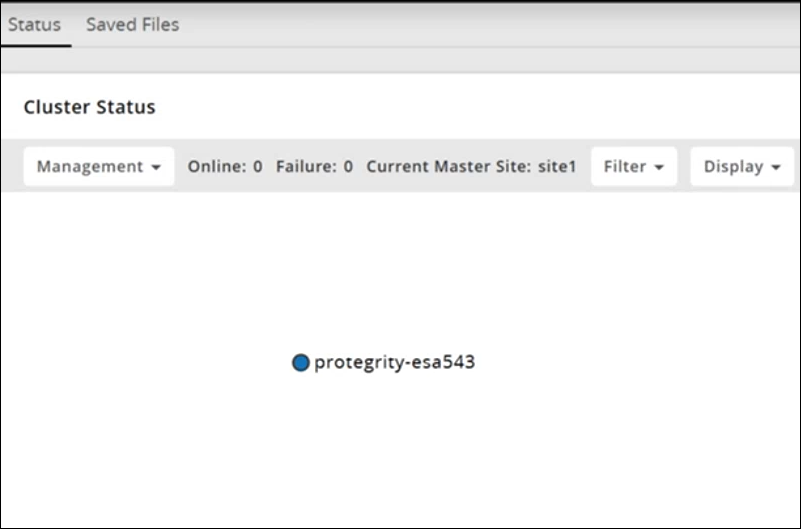
Creating a DSG cluster
On the DSG Web UI, navigate to System > Trusted Appliances Cluster.
The Join Cluster screen appears.

Click Create a new Cluster to create a DSG cluster.
The Create Cluster screen appears.

Click Create and select a preferred communication method.
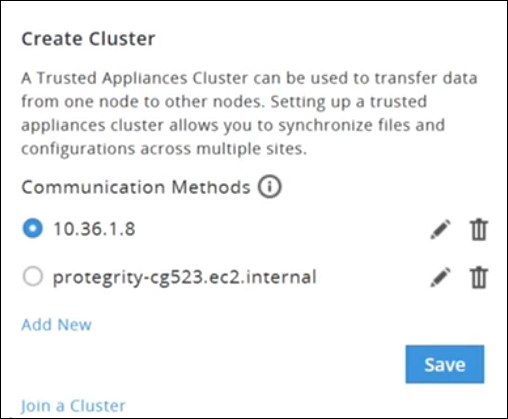
Click Save to create a cluster.
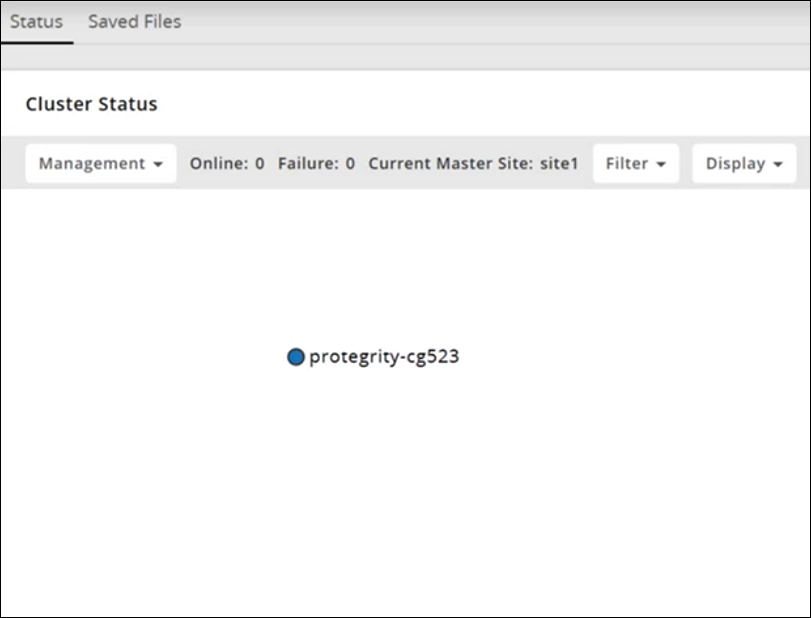
Adding a DSG Node to the Cluster
On the ESA Web UI, navigate to Cloud Gateway > 3.3.0.0 {build number} > Cluster > Monitoring.
The Cluster screen appears. No nodes are added to the cluster.

Select the Actions drop down list in the Cluster Health pane.
The following options appear:
- Apply Patch on Cluster
- Apply Patch on selected Nodes
- Change Groups on Entire Cluster
- Change Groups on Selected Nodes
- Add Node
Perform the following steps to add a node.
Click Add Node.
The Add new node to cluster screen appears.
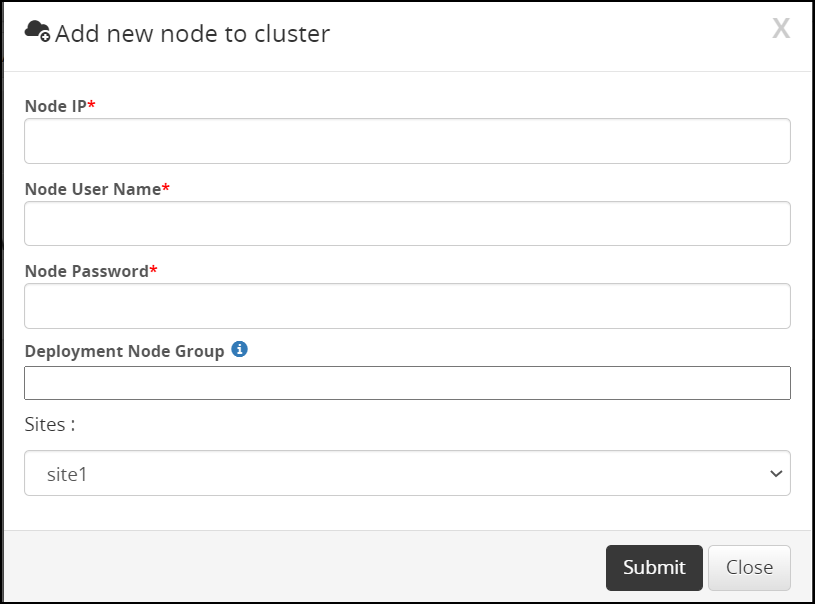
Enter the FQDN or IP address of the DSG node to be added in the cluster in the Node IP field.
Caution: Make sure that the DSG host address matches the Subject Alternative Name(SAN) field or Common Name(CN) in the DSG server certificate.
Enter the administrator user name for the ESA node user in the Node User Name field.
Enter the administrator password for the ESA node user in the Node Password field.
Enter the node group name in the Deployment Node Group field.
Note: If the deployment node group is not specified, by default it will get assigned to the default node group.
Click Submit.
Click Refresh > Deploy or Deploy to Node Groups.
For more information about deploying the configurations to entire cluster or the node groups, refer to the section Deploying the Configurations to Entire Cluster and Deploying the Configurations to Node Groups.
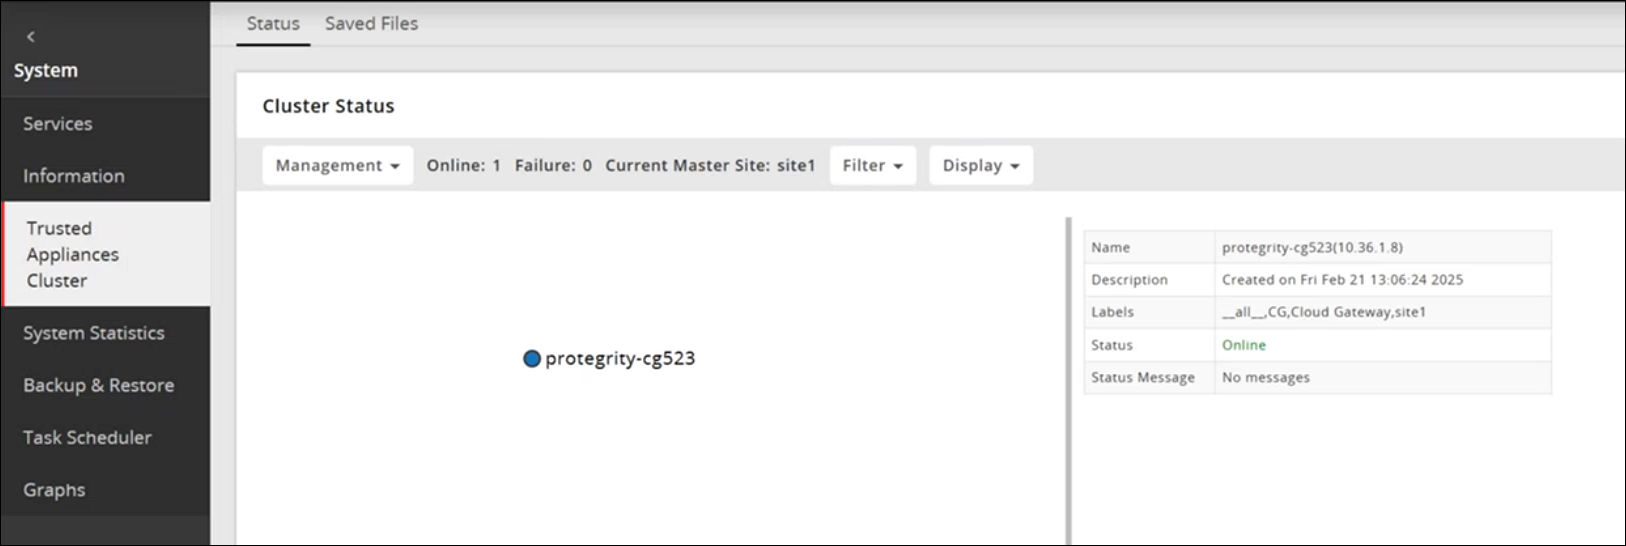
The node is added to the cluster.

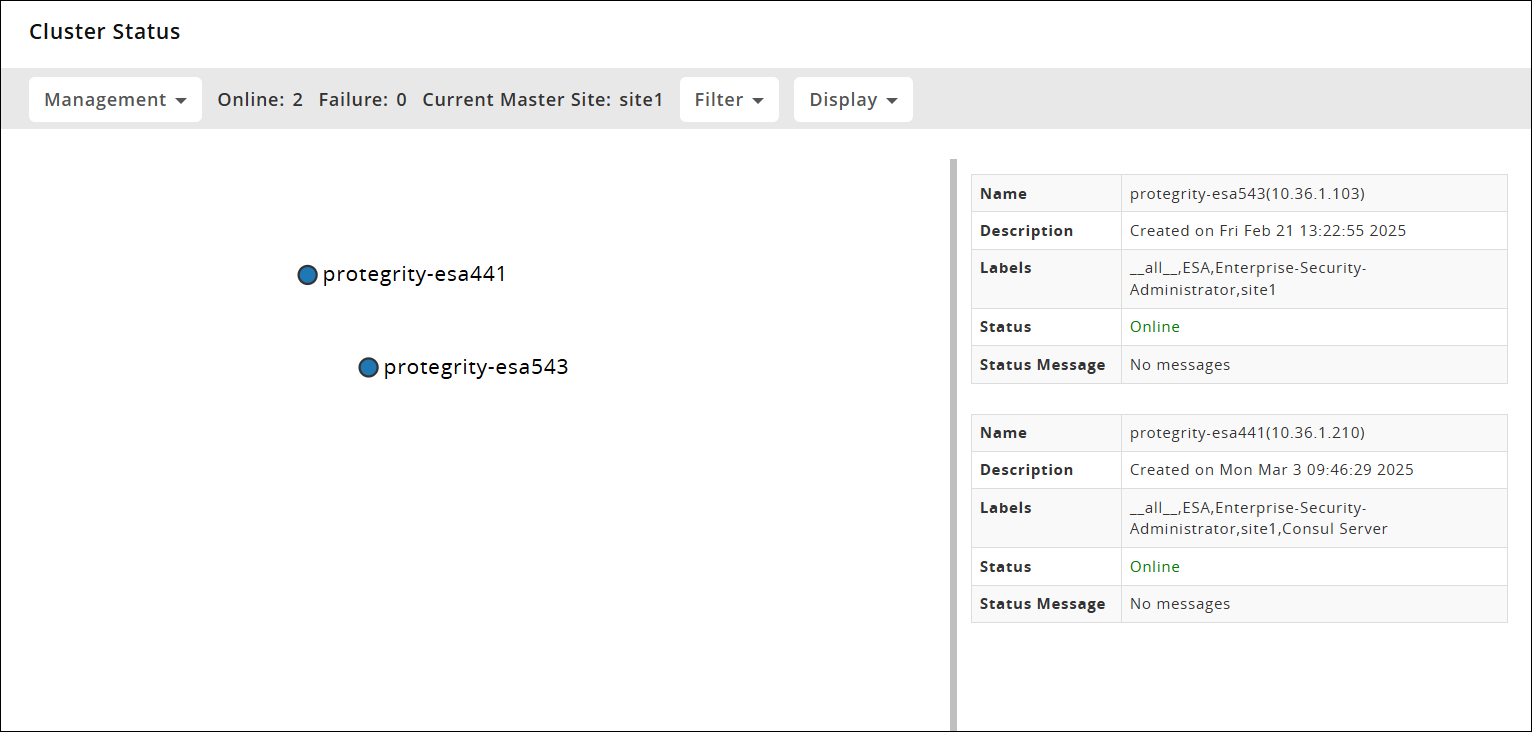
The following figure is the Trusted Appliances Cluster (TAC) page after adding the nodes to the cluster.
Adding the ESA Node to the Cluster
Login to the ESA Web UI from the ESA node that must be added to the cluster. Navigate to System > Trusted Appliances Cluster.
The Join Cluster screen appears.
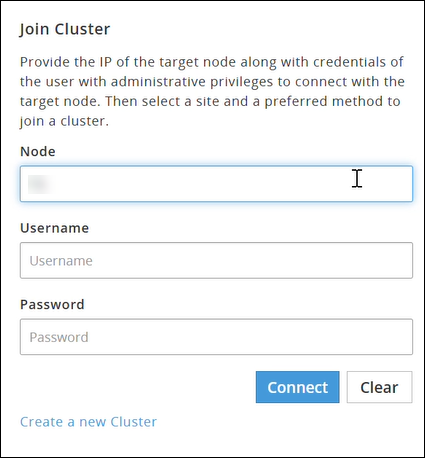
Perform the following steps to add the ESA node.
- Enter the IP address for the first ESA node that has already joined the cluster in the Node field.
- Enter the administrator user name for the first ESA node in the Username field.
- Enter the administrator password for the first ESA node in the Password field.
Click Connect to add the new ESA node to cluster.
Select a preferred communication method.
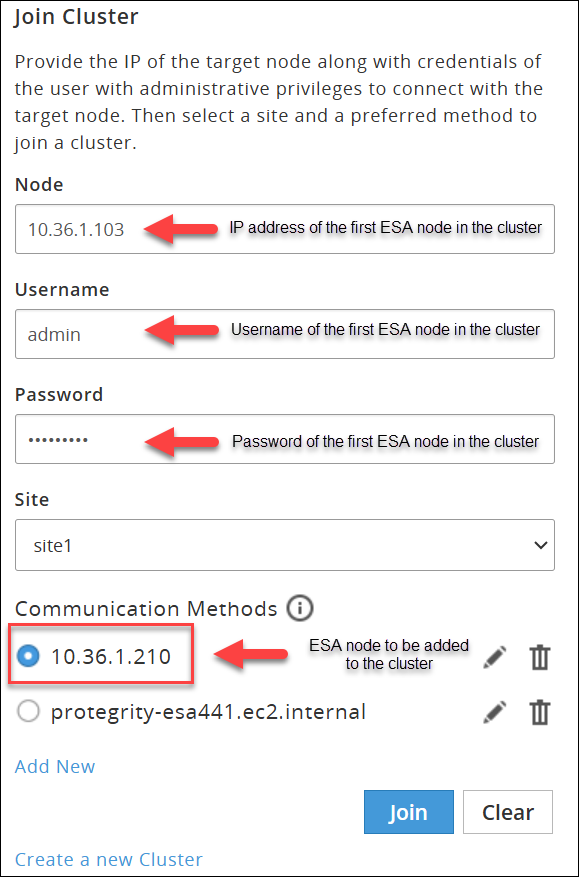
Click Join to join the existing cluster.
Remove a node from the DSG cluster
If the node in the cluster is not required, run the following steps to remove it from a cluster.
To remove a Node from the Cluster:
On the ESA Web UI, navigate to Cloud Gateway > 3.3.0.0 {build number} > Cluster > Monitoring.
Click Actions next to the node you want to remove.
Click Delete. The node is removed from the cluster.