Changing Certificates
To change certificates:
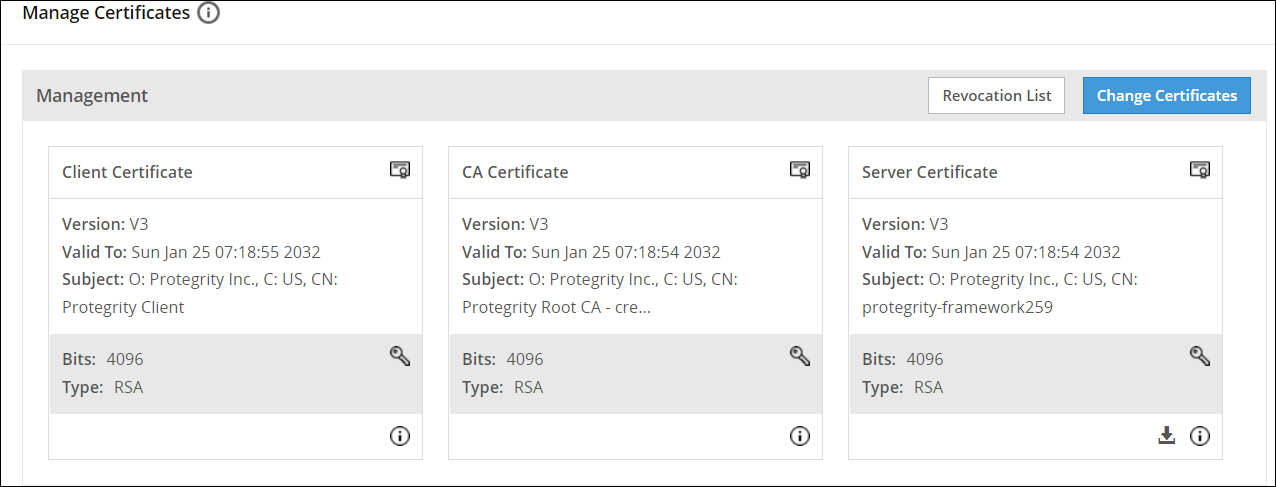
On the ESA Web UI, navigate to Settings > Network > Manage Certificates.

Click Change Certificates.
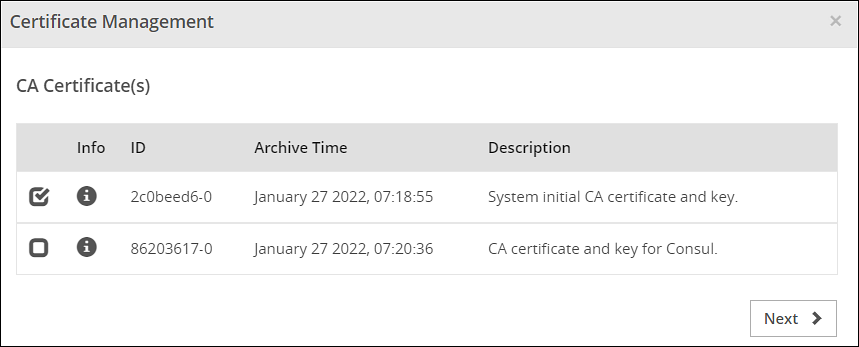
The Certificate Management wizard appears with CA certificate(s) section.
Select the check box next to the CA Certificate that you want to set as active.
CAUTION: This section shows server, client, and CA certificates together. However, ensure that you select only the required certificates in their respective screens. You can select multiple CA certificates for ESA Management and Web Services section. ESA allows you to have only one server and one client active at any given time.

Click Next.
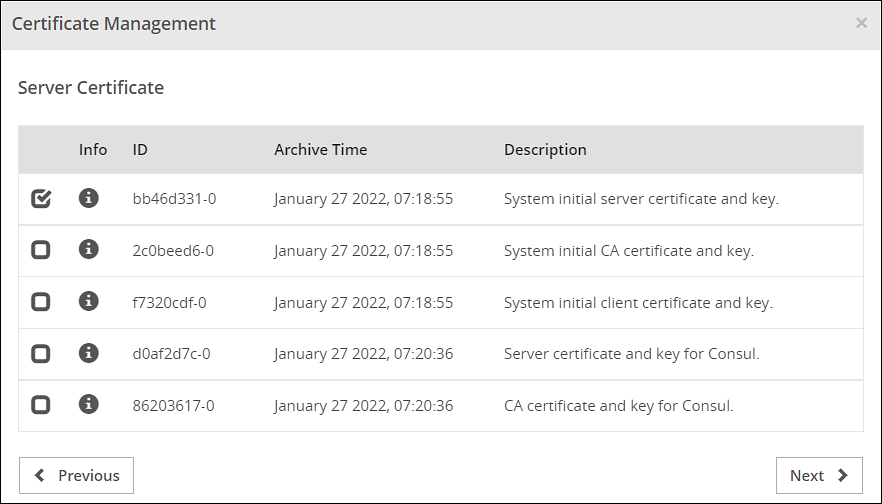
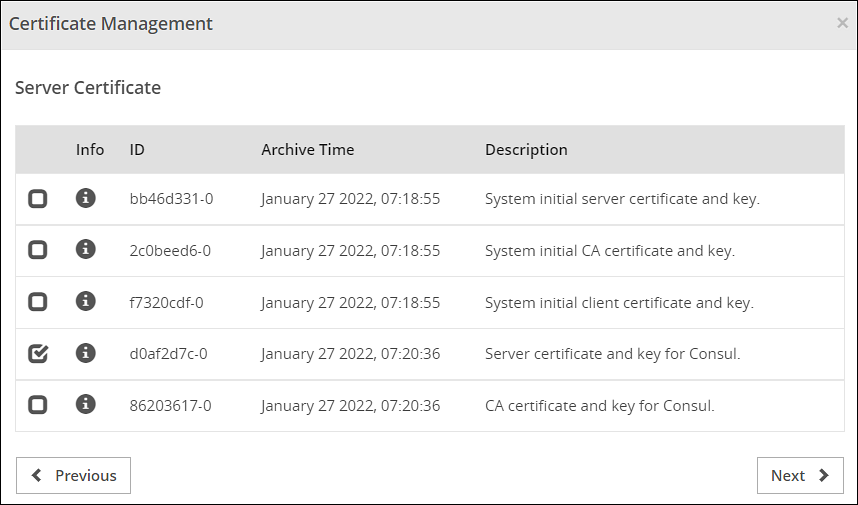
The Server Certificate section appears.
Select the check box next to the Server Certificate that you want to set as active.

Click Next.
The Client Certificate section appears
Select the check box next to the Client Certificate that you want to set as active.

Click Apply.
The following message appears:
The system Management Certificates will be changed and a re-login maybe required. Do you want to continue?Click Yes.
A confirmation message appears and the active certificates are displayed on the screen.
CAUTION: When you upload a server certificate to the ESA and activate it, you are logged out of the ESA Web UI. This happens because the browser does not trust the new CA signed server certificate. You must login again for the browser to get the new server certificate and to use it for all further communications.
Feedback
Was this page helpful?