Setting up ESA Communication
Set ESA communication in cases, such as, change of the ESA IP address, change of the ESA certificates, adding the ESA IP address for cloud platforms, and joining the DSG in an existing cluster.
On the DSG CLI Manager, navigate to Tools > ESA Communication.
Enter the root password, press Tab to select OK and press Enter.
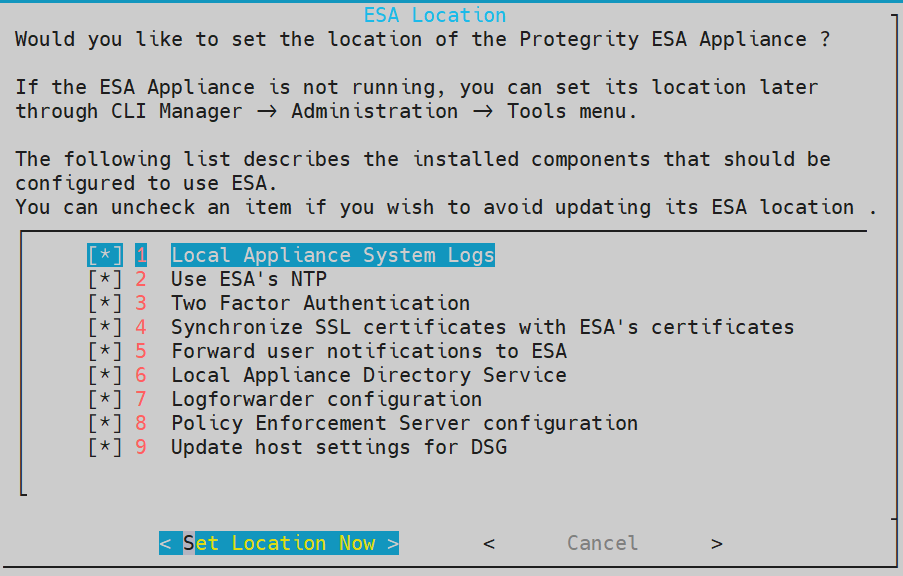
Select all the options, press Tab to select Set Location Now and press ENTER.
The ESA Location screen appears.

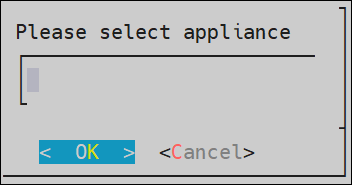
Enter the FQDN or IP address of ESA. Press Tab to select OK and press Enter.
Note: For more information about checking the ESA host address, refer to the section Ascertaining the host address in the ESA server certificate
The ESA selection screen appears.

Enter the ESA administrator credentials in the Username and Password text boxes. Press Tab to select OK and press Enter.
The Enterprise Security Administrator - Admin Credentials screen appears.

Enter the IP Address for the ESA. Press Tab to select OK and press ENTER. You can specify multiple IP addresses separated by comma.
The Forward Logs to Audit Store screen appears.

Note: You must specify the IP addresses for all the ESAs already configured and then enter the IP for the additional ESA.
The FQDN or the IP address of ESA is automatically obtained in this step, as provided in step 4. Press Tab to select OK and press ENTER.
The Update Host Settings for DSG screen appears.

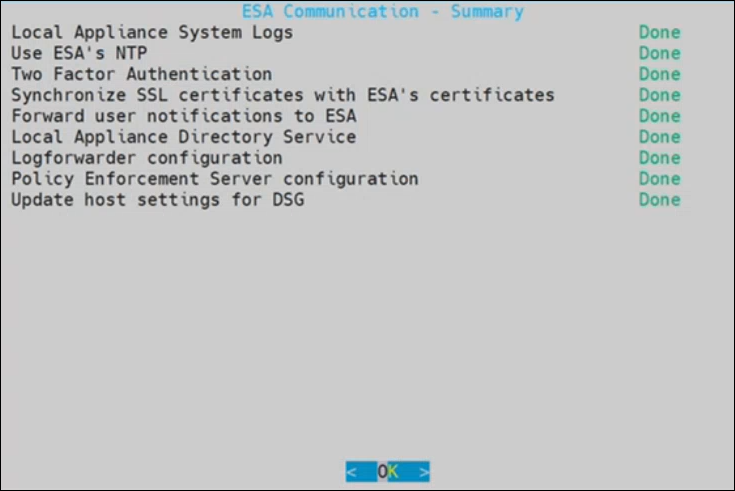
After successfully establishing the connection with the ESA, the following Summary dialog box appears. Press Tab to select OK and press Enter.

The ESA communication is established successfully between the DSG and the ESA.
Feedback
Was this page helpful?