Installing the DSG On-Premise
Installing DSG
This section provides information about installing the DSG ISO.
To install the DSG:
Insert and mount the DSG installation media ISO.
Restart the machine and ensure that it boots up from the installation media.
The following DSG splash screen appears.
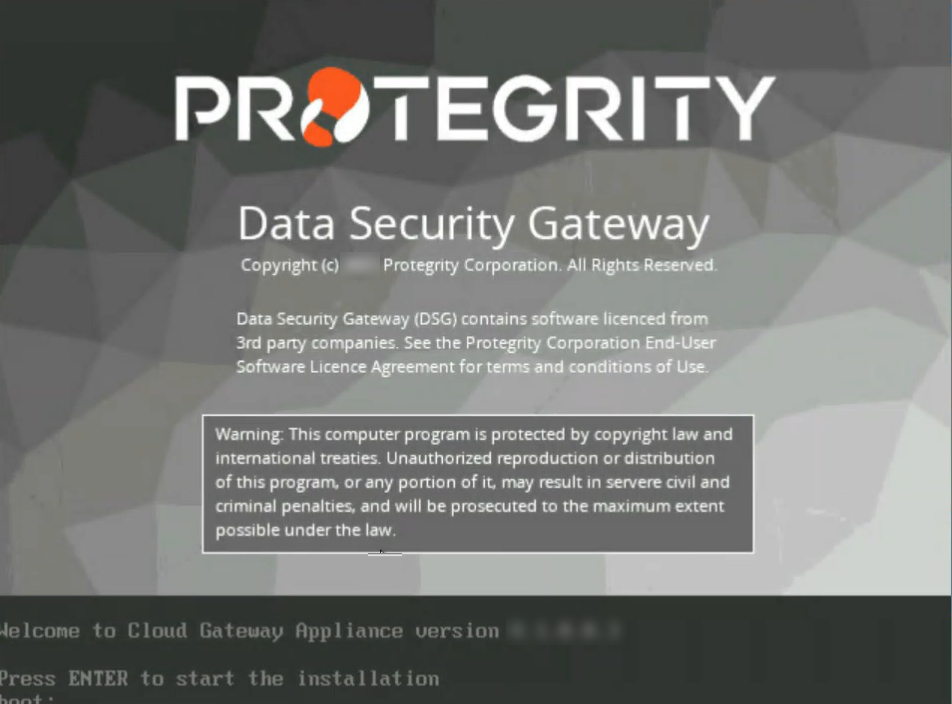
Press ENTER to start the install procedure.
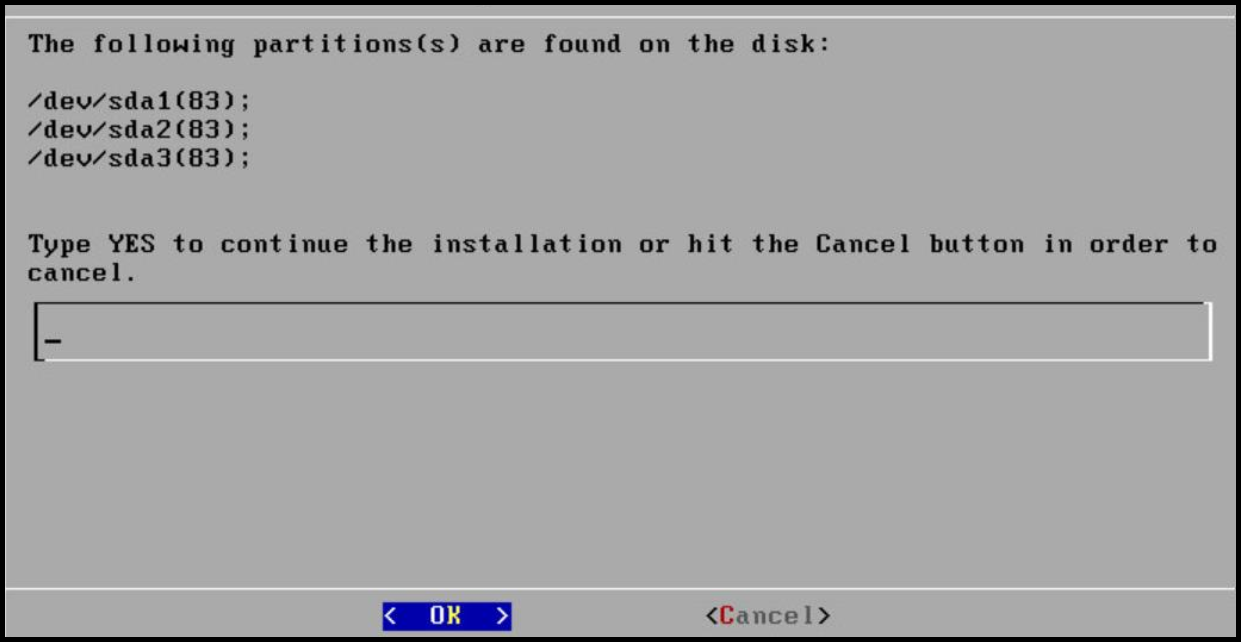
The following screen appears only when you reimage to the DSG v3.3.0.0 from any older DSG version. You must enter YES to proceed with the installation, press Tab to select OK, and then press ENTER.
The following installation options screen appears. Select INSTALL Destroy content and install a new copy, press Tab to select OK, and then press ENTER.
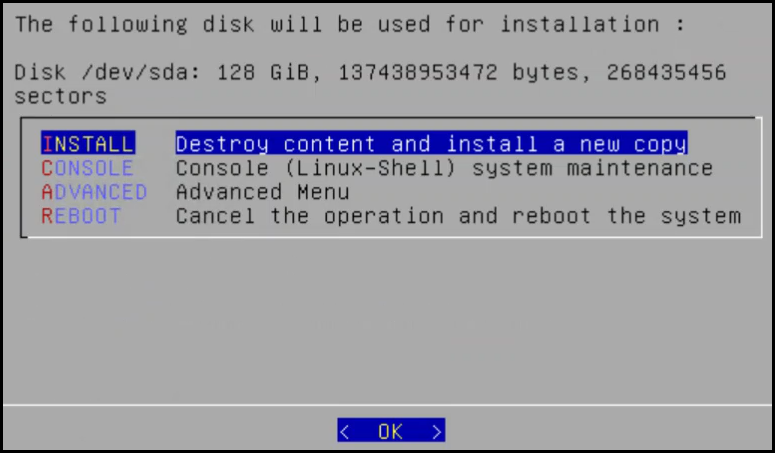
Note: If an existing file system is detected on the host hard drive, then a warning may appear prior to this step. Users who choose to proceed with the install will be prompted with additional confirmation before the data on the file system is lost.
The system restarts and the Network interfaces screen with the network interfaces detected appears.
Press Tab to select the management network interface, which will be the management NIC for the DSG node. Then, proceed by pressing Tab to select Select and press Enter.
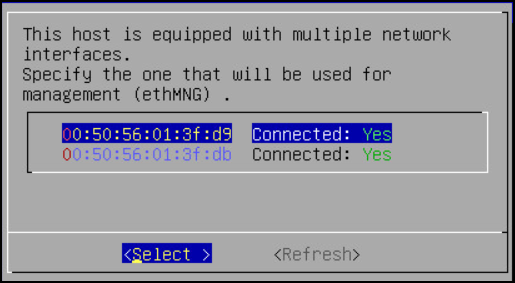
Note: The selected network interface will be used for communication between the ESA and the DSG.
The DSG appliance attempts to detect a DHCP server to setup the network configuration. If the DHCP server is detected, then the Network Configuration Information screen appears with the settings provided by the DHCP server. If you want to modify the auto-detected settings, then press Tab to select Edit and press Enter to update the information.
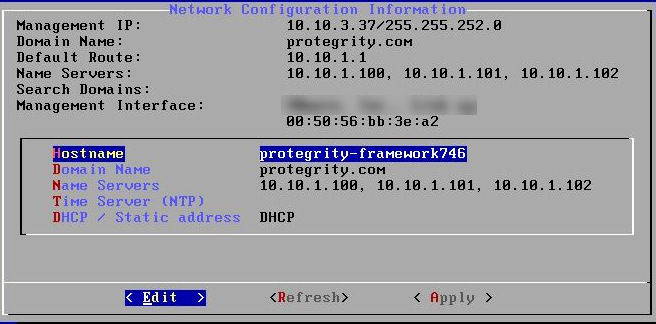
Press Tab to select Apply and press ENTER.
Note: If a DHCP server is detected, then the Select a node screen appears. Select the ESA IP address that you want to use for the ESA communication from the list.
The following dialog appears when the DHCP server is not detected. Press Tab to select Manual, and press Enter to provide the IP address manually or Retry to attempt locating the DHCP server again.

The Network Configuration Information dialog appears. You must enter the network configuration and select Apply to continue.
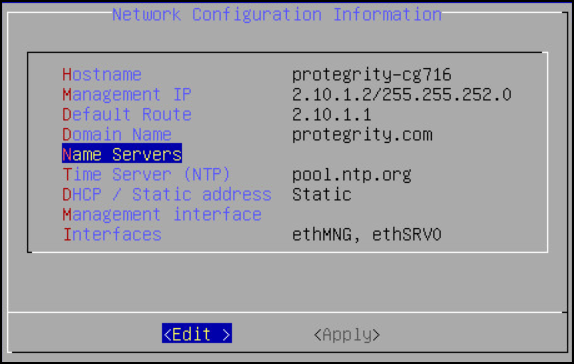
Note: On the DSG, the Management Interface is used for communication between the ESA and the DSG, and accessing the DSG Web UI. The Service Interface is used for handling the network traffic traversing through the DSG.
For more information about the management interface and the service interface, refer to the section Network Planning.
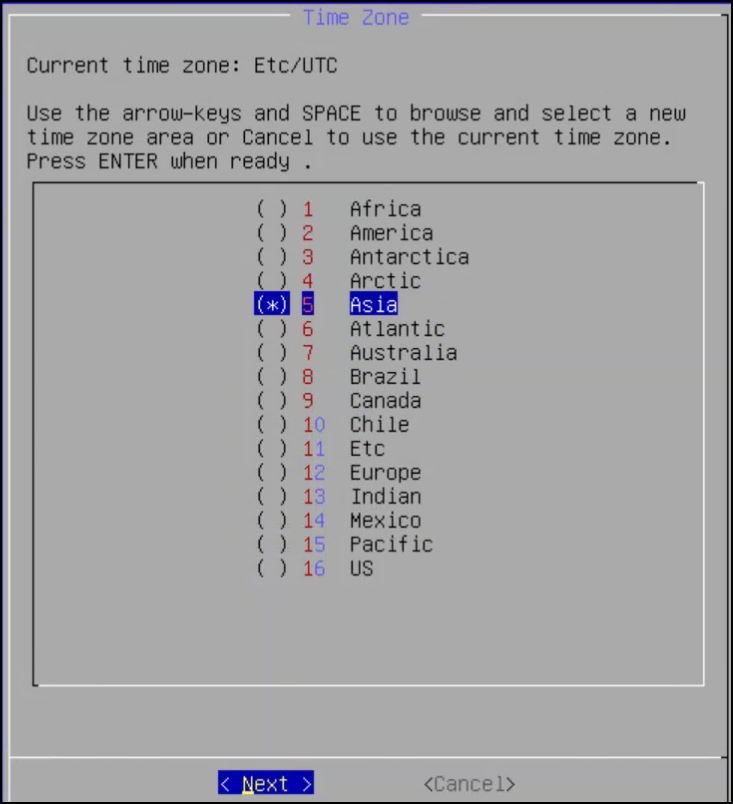
Press Tab to select the time zone of the host, press Tab to select Next, and then press ENTER.
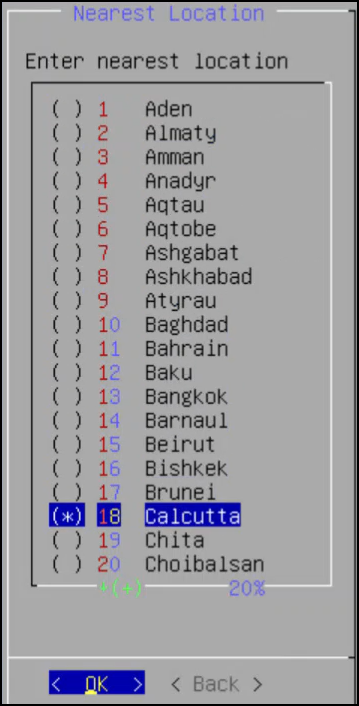
Press Tab to select the nearest location, press Tab to select Next, and then press ENTER.
Press Tab to select the required option, press Tab to select OK, and then press ENTER.
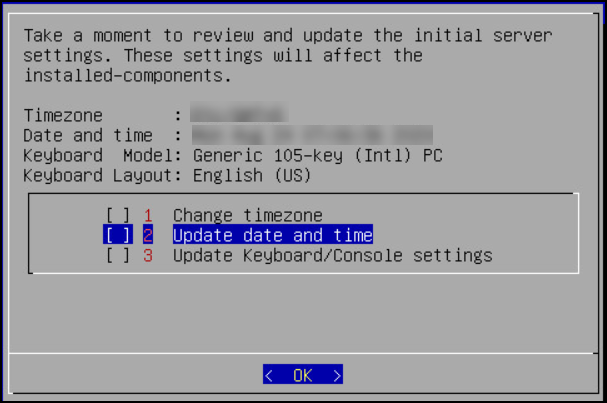
Press Tab to select the required option and then press ENTER.
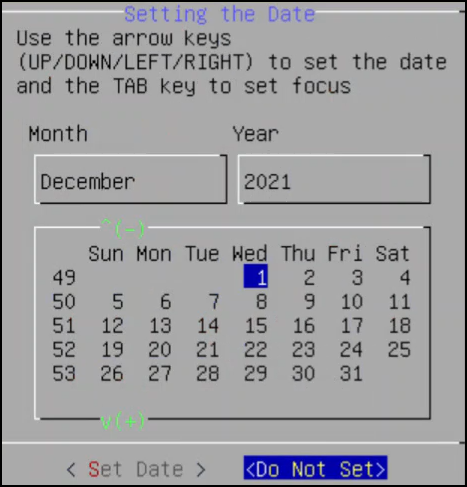
Press Tab to select the required option and then press ENTER.
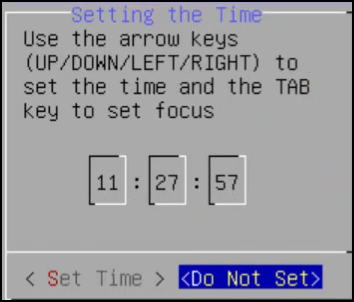
Select Enable, press Tab to select OK, and then press ENTER to provide the credentials for securing the GRand Unified Bootloader (GRUB).
Note: GRUB is used to provide enhanced security for the DSG appliance using a username and password combination.
For more information about using GRUB, refer to Securing the GRand Unified Bootloader (GRUB).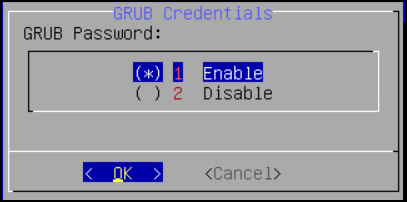
CAUTION: The GRUB option is available only for on-premise installations.
Enter a username, password, and password confirmation on the screen, select OK and press ENTER.
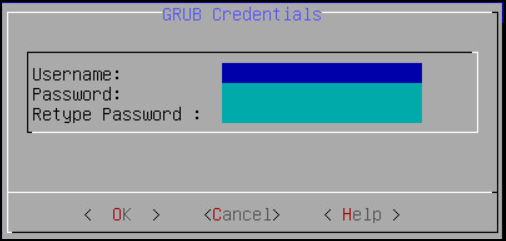
Note: The requirements for the Username are as follows:
- It should contain a minimum of three and maximum of 16 characters.
- It should not contain numbers and special characters.
Note: The requirements for the Password are as follows:
- It must contain at least eight characters.
- It must contain a combination of alphabets, numbers, and printable characters.
Press Tab to set the user passwords, and then press Tab to select Apply and press Enter.
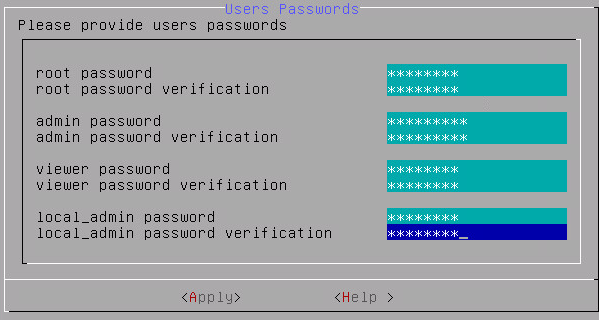
Note: It is recommended that strong passwords are set for all the users.
For more information about password policies, refer to the section Strengthening Password Policy in the Protegrity Appliances Overview Guide 9.2.0.0.Enter the IP address or hostname for the ESA. Press Tab to select OK and press ENTER. You can specify multiple IP addresses separated by comma.
The Forward Logs to Audit Store screen appears.

Note: If the IP address or hostname of ESA is not provided while installing the DSG, then the user can add the ESA through ESA Communication.
Select the ESA that you want to connect with, and then press Tab to select OK and press ENTER.
The ESA Selection screen appears.
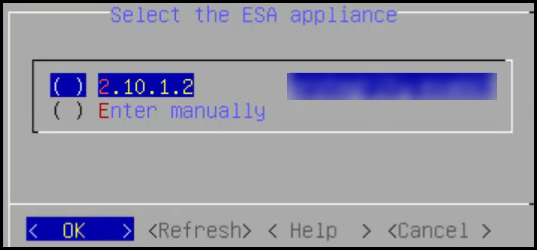
Note: If you want to enter the ESA details manually, then select the Enter manually option. You must enter the ESA IP address when this option is selected.
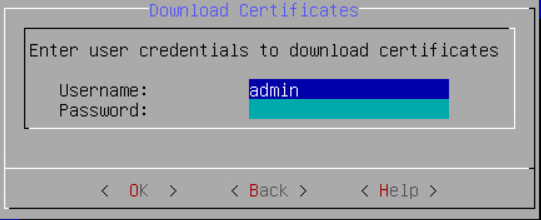
Provide the username and password for the ESA that you want to communicate with, press Tab to select OK, and then press ENTER.
Enter the IP Address and Network Mask to configure the service interface and press Tab to select OK and press ENTER.
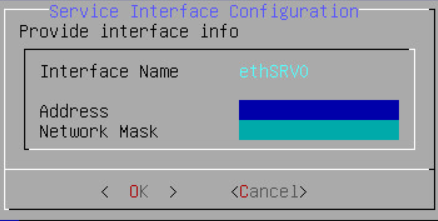
CAUTION: For ensuring network security, the DSG isolates the management interface from the service interface by allocating each with a separate network address. Ensure that two NICs are added to the DSG.
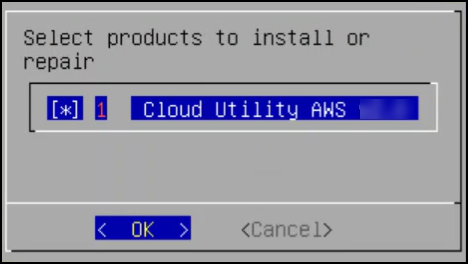
Select the Cloud Utility AWS v2.2, press Tab to select OK, and then press ENTER to install the utility. The Cloud Utility AWS v2.2 utility must be selected if you plan to forward the DSG logs to AWS CloudWatch. If you choose to install the Cloud Utility AWS v2.2 utility later, you can install this utility from the DSG CLI using the Add or Remove Services option after installing the DSG.
Note: For more information about forwarding the DSG logs to AWS CloudWatch, refer to the section Forwarding logs to AWS CloudWatch.
Select all the options except Update host settings for DSG, press Tab to select Set Location Now and press ENTER.

Select the ESA that you want to connect with, and then press Tab to select OK and press ENTER.
The ESA selection screen appears.

Note: If you want to enter the ESA details manually, then select the Enter manually option. You will be asked to enter the ESA IP address or hostname when this option is selected.
Enter the ESA administrator username and password to establish communication between the ESA and the DSG. Press Tab to select OK and press Enter.
The Enterprise Security Administrator - Admin Credentials screen appears.

Enter the IP address or hostname for the ESA. Press Tab to select OK and press ENTER. You can specify multiple IP addresses separated by comma.
The Forward Logs to Audit Store screen appears.

After successfully establishing the connection with the ESA, the following Summary dialog box appears.

Press Tab to select Continue and press Enter to continue to the DSG CLI manager.
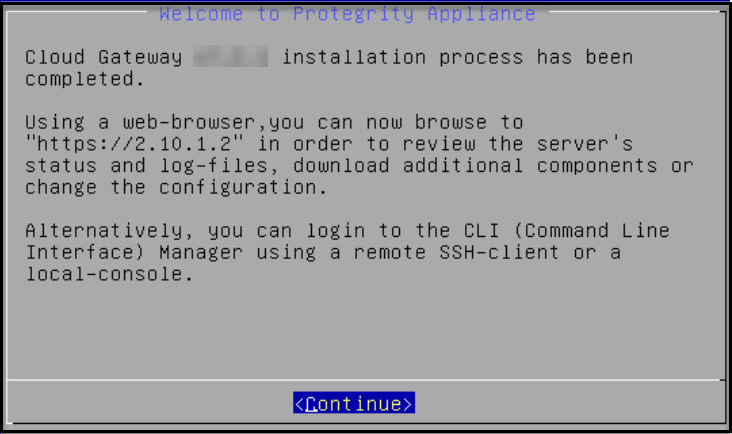
A Welcome to Protegrity Appliance dialog box appears.
Login to the DSG CLI Manager.
Navigate to Administration > Reboot and Shutdown.
Select Reboot and press Enter.
Provide a reason for restarting the DSG node, select OK and press Enter.
Enter the
rootpassword, select OK and press Enter.The DSG node is restarted.
Login to the DSG Web UI.
Click the
 (Help) icon, and then click About.
Verify that the DSG version is reflected as DSG 3.3.0.0.
Feedback
Was this page helpful?