This is the multi-page printable view of this section. Click here to print.
Restoring to the Previous Version of ESA
1 - Restoring to the Previous Version of ESA On-premise
To roll back the system to the previous version, perform the steps to restore the system.This helps in cases such as when an upgrade fails.
Perform the steps to restore to the previous version of the ESA on-premise.
- From the CLI Manager, navigate to Administration > Reboot And Shutdown > Reboot to restart the system.A screen to enter the reason for restart appears.
- Enter the reason and select OK.
- Enter the root password and select OK.
The appliance restarts and the following screen appears.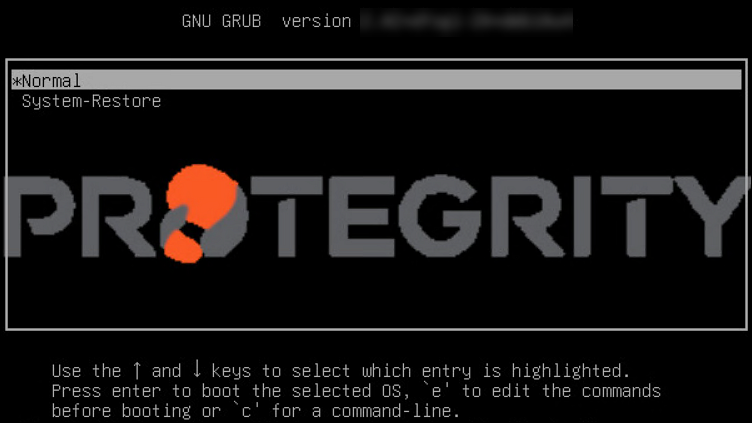
- Select System-Restore and press ENTER.
The Welcome to System Restore Mode screen appears.
- Select Initiate OS-Restore Procedure and select OK.
The Boot Into System-Restore Partition option is deprecated from this release. Ensure to only use Initiate OS-Restore Procedure option to restore to the previous stable version.
The restore procedure is initiated.
After the OS-Restore procedure is completed, the login screen appears.
2 - Restoring to the Previous Version of ESA Cloud platforms
This section describes restoring the ESA on Cloud platforms, such as, Amazon Web Services (AWS), Azure, or Google Cloud Platform (GCP). For installing the ESA on cloud platforms, you must mount the image containing the ESA on a cloud instance or a virtual machine. After mounting the image, you must run the finalization procedure to install the ESA components.
| Cloud Platform | Backing up and Restoring ESA |
|---|---|
| AWS | Create and restore a snapshot on AWS |
| Azure | Create and restore a snapshot on Azure |
| GCP | Create and restore a snapshot on GCP |
3 - Restoring to the Previous Version of ESA VMWare
This section describes creating a snapshot and restoring the ESA on VMWare to the previous version.
Creating a Snapshot on VMWare
To create a snapshot on VMWare:
- Log in to the VMware Client console.
- Navigate to Inventories > VMs and Templates.
- From the left navigation pane, select the required project.
- Select the required OVA template.
- Right-click the VM and select Snapshot > Take Snapshot. The Take Snapshot screen appears.
- Enter a name and description for the snapshot.
- Click Take Snapshot.
- Check “Snapshot the virtual machine’s memory” for a full state capture.
- Click OK.
Restoring a Snapshot on VMWare
To restore a snapshot on VMWare:
- Log in to the VMware Client console.
- Navigate to Inventories > VMs and Templates.
- From the left navigation pane, select the required project.
- Select the required OVA template.
- Right-click the VM and select Snapshot > Snapshot Manager.
- Select the required snapshot.
- Click Go To.
The snapshot is added to the VMWare.