Using the Protegrity Browser Protector Extension
Working with the Protegrity Browser Protector Extension.
Understanding the Protegrity Browser Protector UI Components
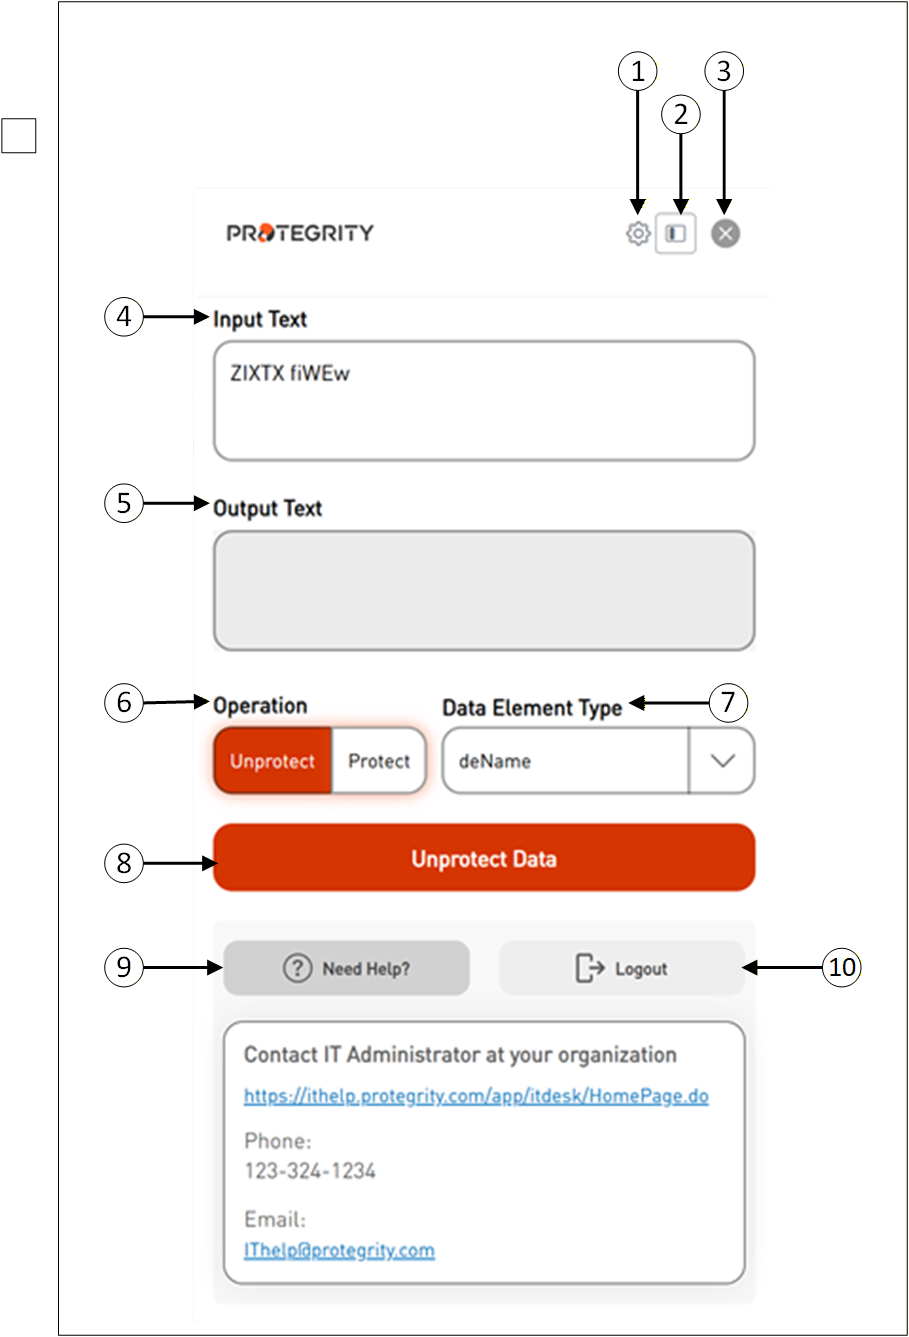
The following figure illustrates the components of the browser extension pop-up window.
| Callout | Icon Name | Description |
|---|
| 1 | Settings | Click Settings to configure different options. |
| 2 | Sidebar View | This is used to toggle between different display modes, such as sidebar view, or page layout options. |
| 3 | Close | This represents closing a window. |
| 4 | Input Text | Displays the selected tokenized data. |
| 5 | Output Text | Displays the original data. |
| 6 | Operation | Select the appropriate operation “Unprotect or Protect”. |
| 7 | Data Element Type | Select the appropriate data element name to detokenize the data. |
| 8 | Unprotect Data or Protect Data | Click the Unprotect Data button to retrieve the original data. |
| 9 | Need Help | Click the Need Help button to provide you with additional IT contact details. |
| 10 | Logout | Click the Logout button to end your SSO login session. |
How to use Protegrity Browser Protector Extension
Once installed, the Browser Extension should appear in the list of available extensions next to the browser’s address bar.
Follow these steps to use the Browser Protector extension in Chrome.
Open the Chrome browser displaying the tokenized data.
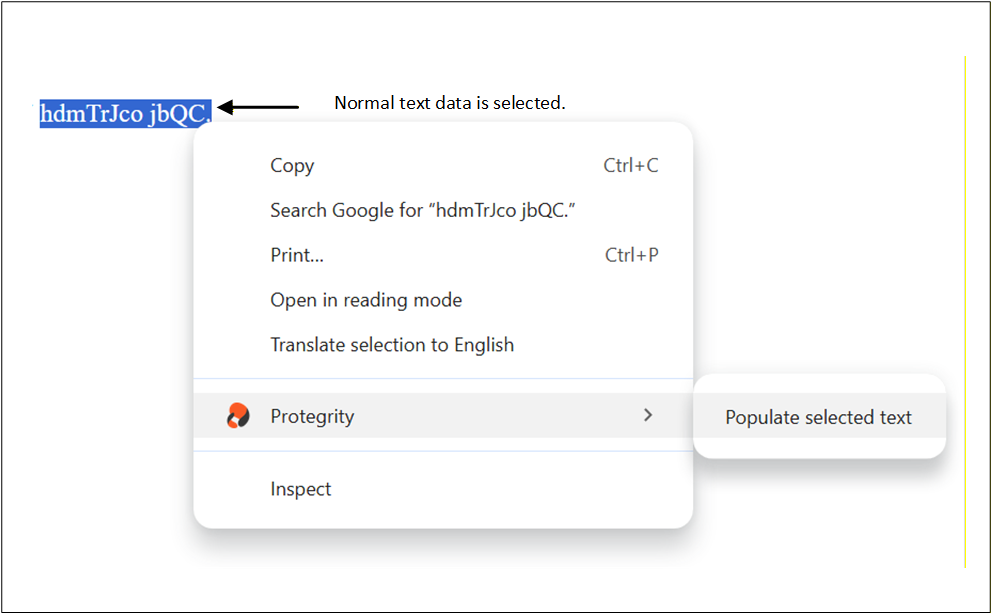
Highlight the tokenized data that you want to convert back to its original form.
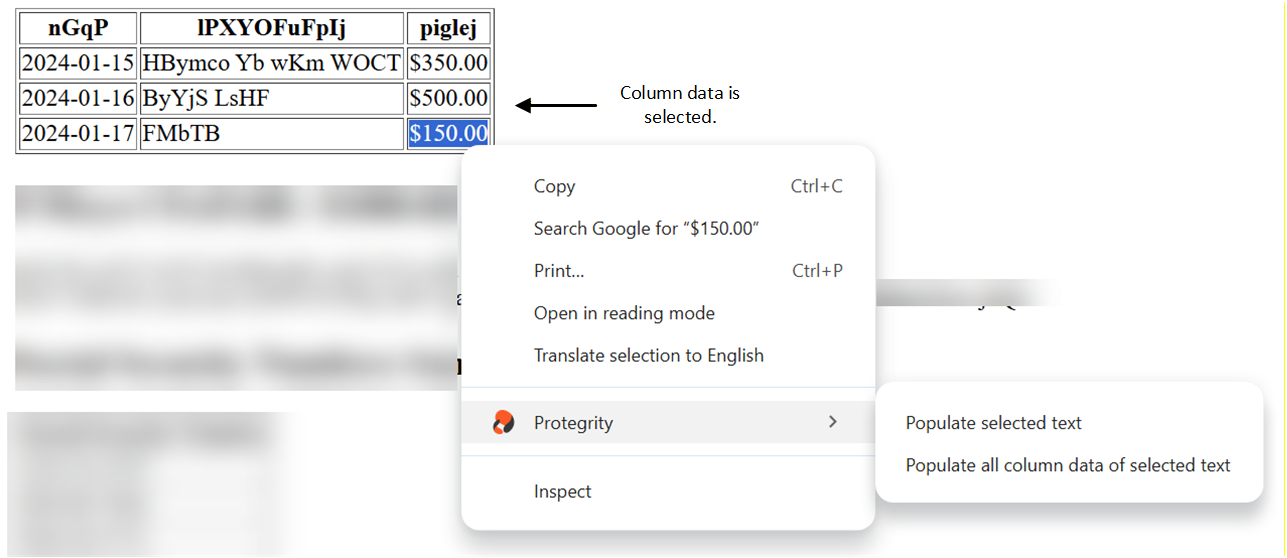
Right-click the selected data and choose the Browser Protector context menu. This menu shows two different options:
Populate selected text- This option appears when normal text data or column data is selected.
Populate all column data of selected text- This option appears when column data is selected.
A pop-up window will appear from the extension showing the selected data along with the SSO sign-in option.
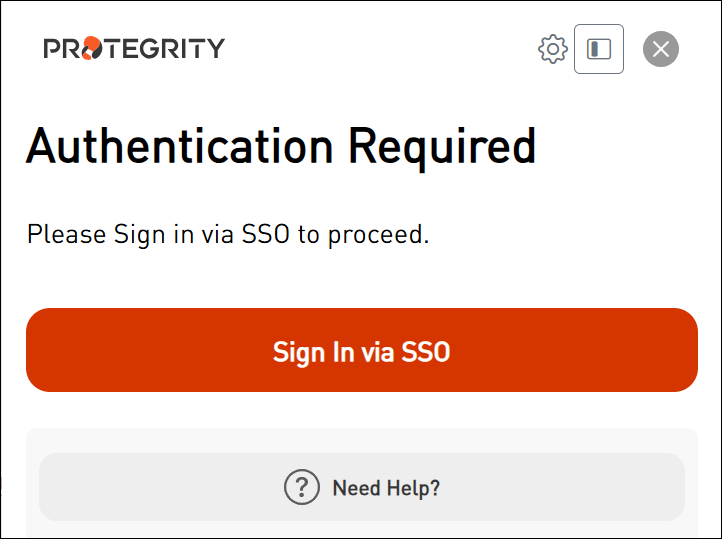
Enter the correct sign-in information and proceed.
After completing the sign-in process, the following screen appears.
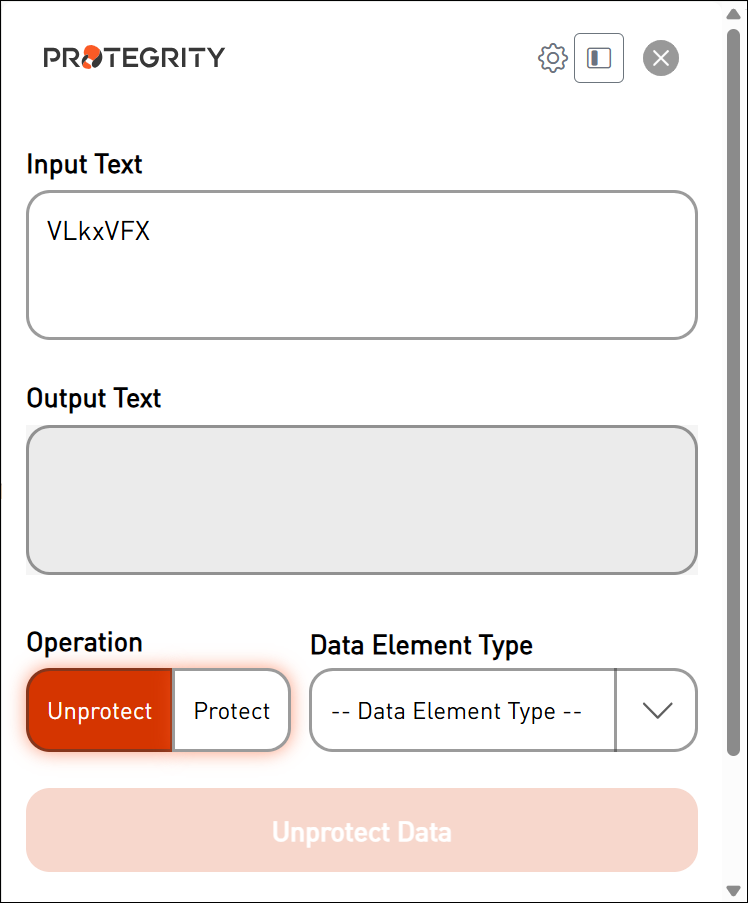
The selected data is loaded onto the screen.
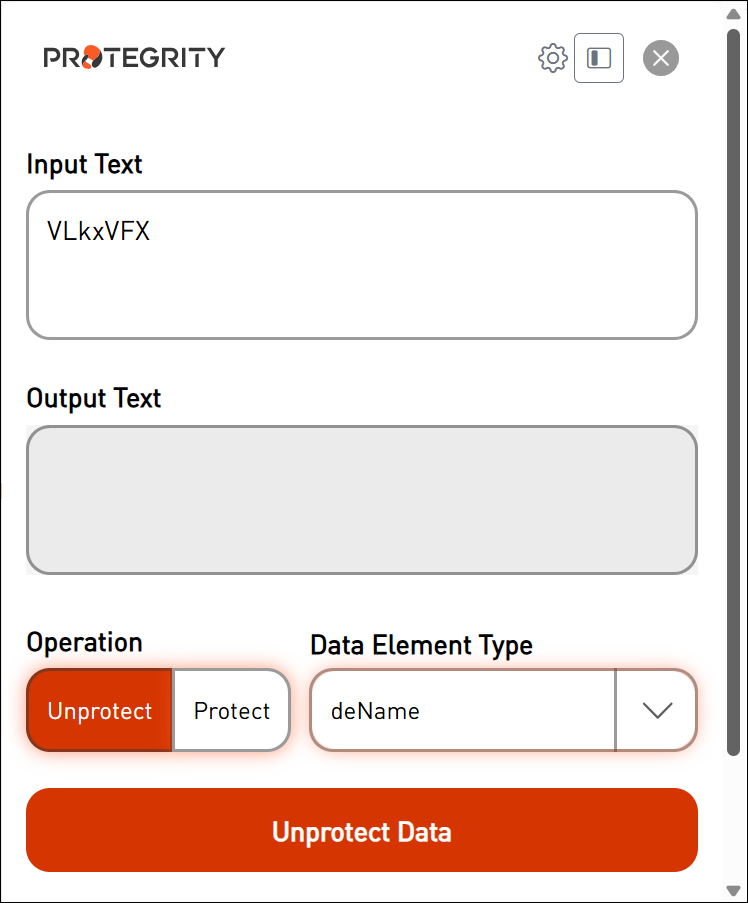
Select the Data Element Type that was used to protect the sensitive data.
Extension Screen with Value as deName
Select the operation “Unprotect or Protect”.
Click Unprotect Data.
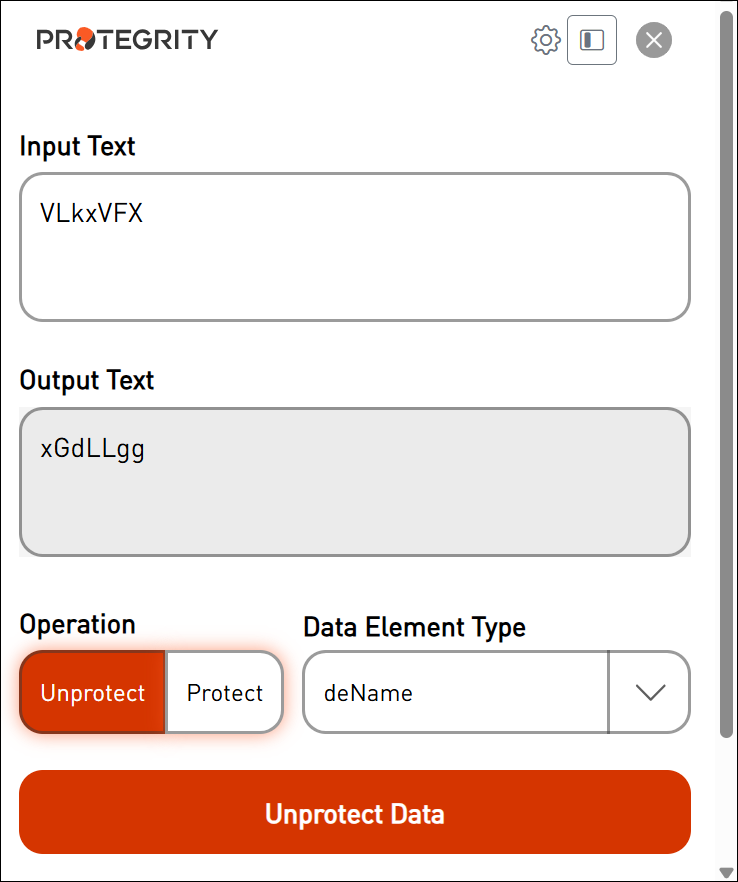
The original data is displayed on the screen.
1 - Browser Protector Settings
The settings in the browser protector
Extension Settings
The following settings are available in the extension’s Settings panel. All settings are persisted to Chrome sync storage and apply across sessions.
Setting key: OPEN_MODE
Options: Popup | Sidepanel
Controls how the extension UI is displayed when the browser action icon is clicked.
| Option | Behavior |
|---|
Popup | Opens the extension in a small floating popup window anchored to the toolbar icon. |
Sidepanel | Opens the extension in Chrome’s persistent side panel, docked to the side of the browser window. |
The side panel option is useful when you need the extension visible alongside web page content without it closing on focus loss.
Switching modes takes effect on the next click of the extension icon.
2. Process Page Content Automatically
Options: ON | OFF (default: OFF)
When enabled, the extension automatically detects and unprotects, protected values on the pageas soon as the content is loaded or updated, the extension will unprotect — and continues monitoring for DOM changes (e.g. single-page app navigation or dynamically loaded content) to unprotect new values as they appear.
Unprotection runs in the following priority order:
- Elements tagged with the
data-pty-dataelement attribute - Elements matched by configured Custom Mapping Configuration
- Elements matched from past usage history (only if “Unprotect Based on Past Usage” is also enabled)
This setting requires the user to be logged in. If no active session is found, automatic unprotection is skipped.
Turning this setting OFF will also automatically turn off Unprotect Based on Past Usage.
3. Unprotect Based on Past Usage
Options: ON | OFF (default: OFF)
Requires: Process Page Content Automatically = ON
When enabled alongside Process Page Content Automatically, the extension additionally applies unprotection to elements that were previously identified through user interactions (stored suggestions). This allows the extension to “remember” mappings discovered through past manual unprotect actions and re-apply them automatically on future page loads.
This setting has no effect if Process Page Content Automatically is OFF — it will be forced to OFF if the parent setting is disabled.